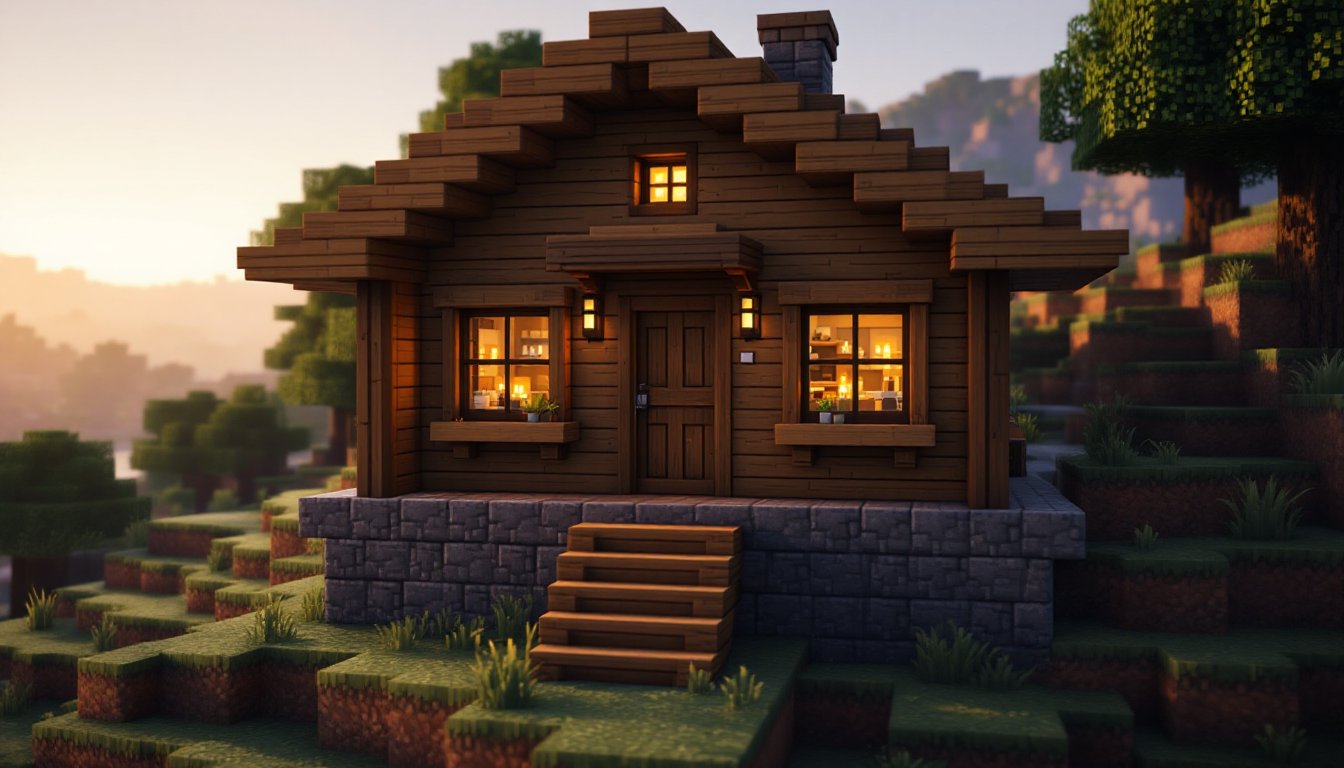
Living small doesn’t mean living without storage. A dedicated shed for a tiny house solves one of the biggest challenges tiny home owners face: where to keep tools, seasonal items, and overflow. Unlike a traditional home with a basement or garage, tiny houses rely on clever external solutions. A well-designed shed transforms wasted outdoor space into functional storage that keeps your compact living area clutter-free. Whether you’re building on a foundation or wheels, this guide walks you through selecting and constructing the right shed for your lifestyle.
Table of Contents
ToggleKey Takeaways
- A dedicated shed for a tiny house is essential infrastructure that prevents interior clutter by providing external storage for tools, seasonal items, and workshop space.
- Garden sheds (8×12 to 12×16 feet) and lean-to designs are the most practical shed types for tiny homes, with garden sheds offering more versatility and lean-tos reducing costs by 30–40%.
- Undersizing is the most common mistake—most tiny house owners need a 10×12 foot shed minimum with at least 8 feet of usable headroom to avoid rapid overcrowding.
- A proper foundation (concrete slab, gravel pad with piers, or pressure-treated skid) is non-negotiable to prevent floor rot and frame warping over time.
- Invest in correct roofing pitch (4:12 minimum), proper flashing, weatherproofing, and adequate overhang to protect your shed from water infiltration, the leading cause of DIY shed failure.
- Check local building codes and permits before construction—most jurisdictions require permits for sheds over 120–200 square feet, costing $50–300 but essential for property sales and insurance claims.
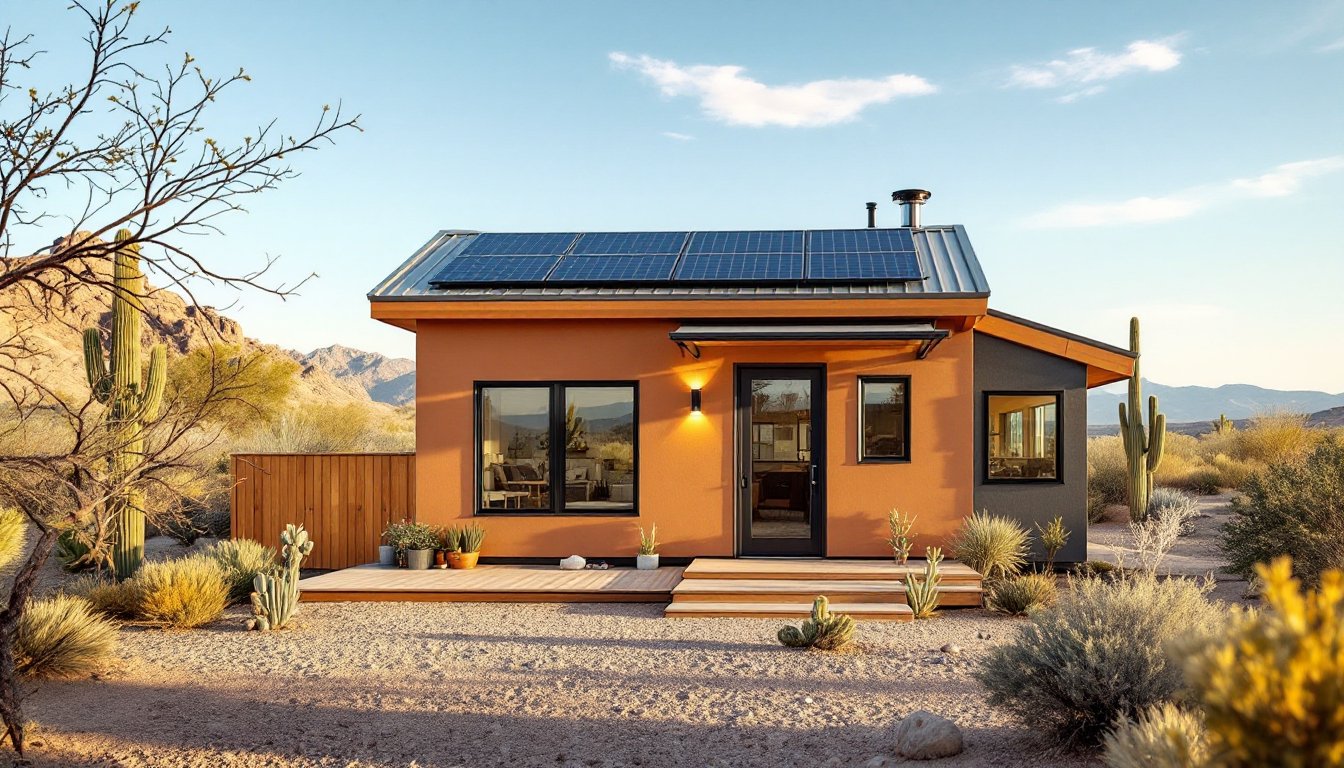
Why Tiny House Owners Need a Dedicated Shed
Tiny house living hinges on intentional design and ruthless organization. Even the most efficient floor plan has limits. A shed isn’t a luxury, it’s essential infrastructure.
Without external storage, homeowners either sacrifice interior space to shelving or accumulate clutter on the property. A dedicated shed prevents both problems. You get a dedicated zone for power tools, garden equipment, seasonal decorations, and bulk storage that would otherwise dominate your living quarters. This separation keeps your tiny home feeling spacious and functional.
Many tiny house owners work from home or pursue hobbies requiring dedicated workspace. Tiny Home Workshops: Unlock Your Creativity in Compact Spaces show how external structures can house woodworking benches, artist studios, or home offices. A shed with proper electrical service and insulation transforms into a genuine workshop rather than just a storage box.
Tiny house living also means maximizing property utility. A shed makes outdoor space livable, covered storage near a garden means less walking, protected tools, and a cleaner yard aesthetic.
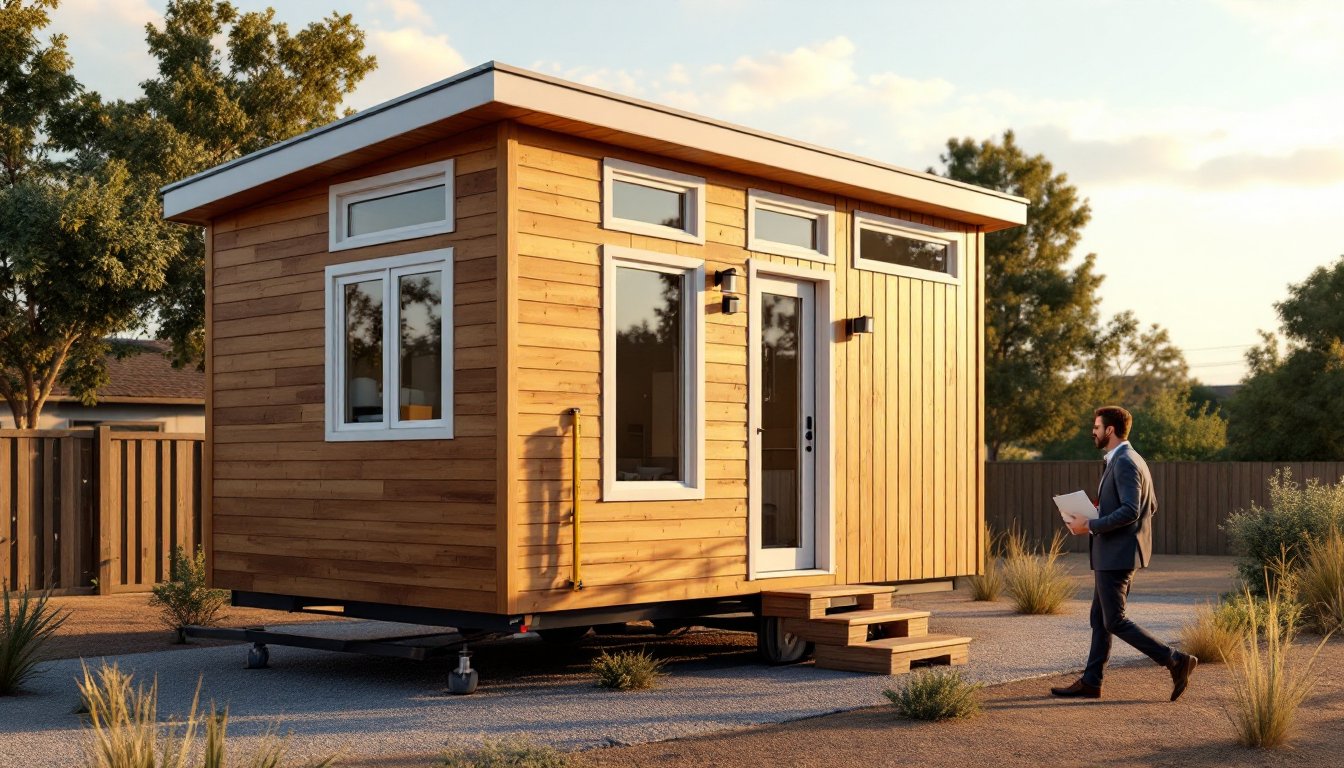
Popular Shed Types for Tiny Home Living
Shed design varies widely, and choosing the right style depends on climate, lot size, building codes, and your storage needs. The two most practical options for tiny house properties are garden sheds and lean-to designs, each offering distinct trade-offs.
Garden Sheds and Storage Solutions
A standard garden shed is the most versatile choice. These typically range from 8×12 feet (96 square feet) to 12×16 feet (192 square feet), large enough for real utility without dominating a small lot.
Garden sheds work well because they’re freestanding, which means:
- No shared walls or structural ties to the house
- Easier to site away from utilities
- Simpler permitting (many jurisdictions allow sheds under 200 square feet without a permit, but always verify locally)
- Full roof overhang for weather protection
A lean-to conversion kit or simple A-frame shed costs less and builds faster than a full shed, but sacrifices headroom and usable width. Free DIY furniture plans and beginner-friendly building guides show modular approaches that reduce construction complexity.
Consider material choice carefully. Wood sheds are traditional and blend aesthetically but require maintenance (siding, paint, roof inspection). Metal sheds resist rot and pests but can dent and rust at seams. Composite or vinyl-clad sheds split the difference, lower maintenance than wood, more durable than bare metal.
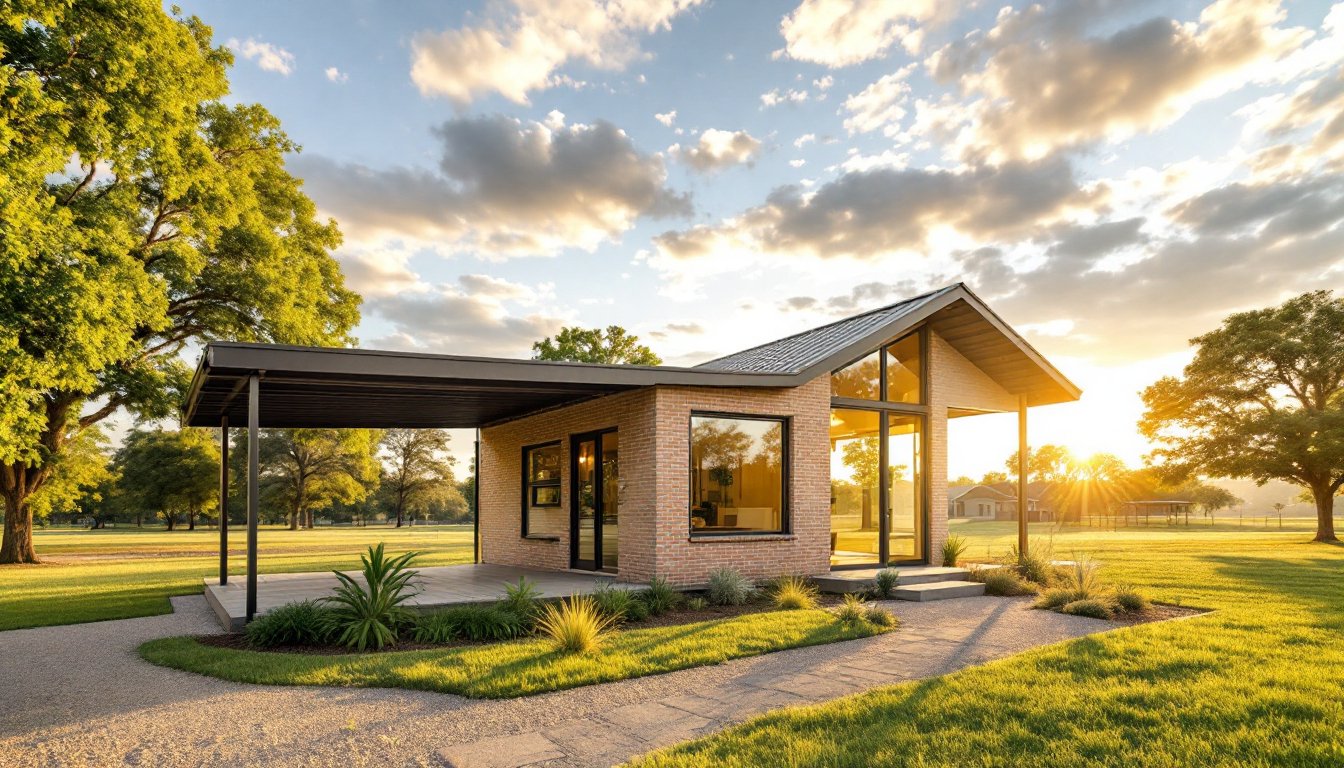
Lean-To and Cottage-Style Sheds
A lean-to sheds cost 30–40% less than a full shed because it uses one existing wall (often the tiny house itself or a property line fence) as support. The angled roof sheds water away, making it practical for storing tools, bikes, or firewood.
Lean-tos work best when:
- Your tiny house is on a proper foundation with a stable side wall
- You need 4–6 feet of depth maximum
- Local codes permit structures attached to your home
Cottage-style sheds (think a small version of a barn with peaked roof and siding) appeal aesthetically but cost 15–25% more than basic box designs. They look nicer and offer better headroom, but you’re paying for appearance. On a tight lot next to a tiny house, the added visual appeal might justify the cost, aesthetic harmony matters when every structure shows.
The tiny house movement emphasizes thoughtful design, and your shed should reflect that philosophy. A cheap eyesore creates stress: a well-chosen structure feels intentional.
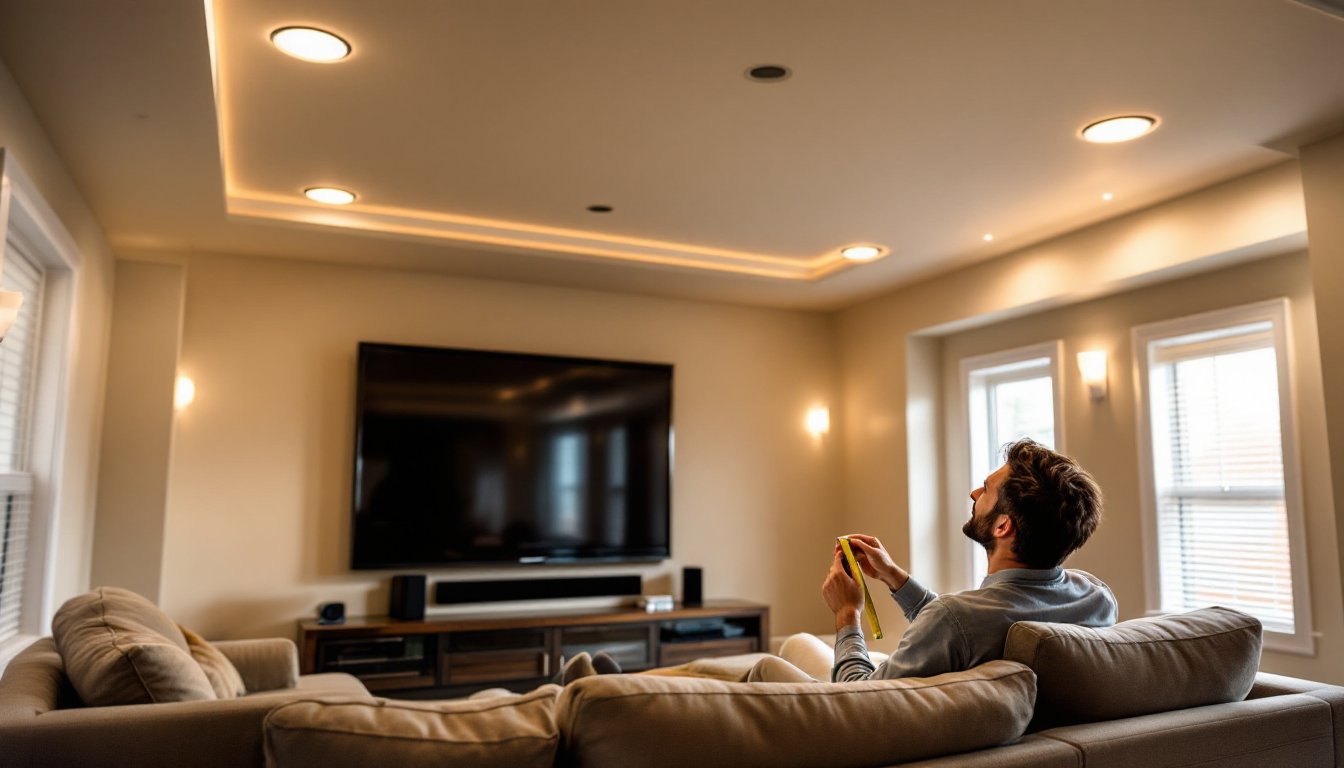
How to Size Your Shed for Maximum Functionality
Undersizing is the most common mistake. Homeowners think 6×8 feet (48 square feet) is “plenty,” then run out of room within months. Proper sizing requires honest inventory.
Start by listing what actually needs to go inside:
- Power tools (miter saw, table saw, compressor)
- Hand tools (rakes, shovels, hoes)
- Lawn equipment (mower, leaf blower, trimmer)
- Seasonal items (holiday decorations, summer toys, winter covers)
- Bulk storage (lumber scraps, spare materials)
Most tiny house owners discover they need 10×12 feet minimum to avoid stacking everything to the ceiling. If you don’t have a detached garage, add 20% to your estimate.
Height matters too. Standard sheds are 8 feet at the eave (the wall plate height), sloping to maybe 10–12 feet at the peak. That sounds tall until you try to fit a standing workbench, tool racks, and overhead storage. A tall person working inside a 7-foot-tall shed feels cramped. Aim for at least 8 feet of usable headroom at the work zone.
Budget for overhangs and placement. A shed built flush against a property line looks cramped and forces rain and debris against neighboring property. An 18–24 inch overhang on all sides (in compliance with your local setback rules) protects siding and keeps stored items dry. This means a 10×12 shed actually occupies roughly 11×13 feet on your lot, measure your space before ordering.
Electricity changes the game. If you’ll run power tools or heat the space in winter, budget for wiring conduit, a dedicated circuit, and a weatherproof outlet. Tiny Home Utilities: Essential cover efficient power solutions that apply to sheds using 240-volt or 120-volt service from your main panel.
DIY Shed Building Tips and Practical Advice
Building a shed yourself saves money but demands honesty about your skill level. A 10×12 shed takes 40–80 hours if you’ve framed before, 100+ if you haven’t. Bad framing invites warping, leaks, and structural issues. If you’re uncertain, hire a builder for the frame and roof, then finish interior details yourself.
Foundation is non-negotiable. Skipping a proper foundation causes the floor to rot and the frame to rack (twist out of square) within years. Options include:
- Concrete slab: Best for permanent sheds. Costs $800–1,500 depending on soil conditions. Requires a permit and frost line depth research.
- Gravel pad + concrete piers: Mid-range. Dig below the frost line (varies by region, 12 inches in mild climates, 48 inches in cold ones), set treated 4×4 posts on concrete blocks or piers, then build the floor frame on top. This allows water drainage and prevents rot.
- Skid foundation: Fastest and cheapest. Pressure-treated 4×4 runners laid directly on compacted gravel. Not ideal long-term but acceptable for sheds moved or rebuilt in 15–20 years.
Framing is structural. Use 2×4 studs on 16-inch centers for walls, standard, proven, and code-compliant. Wall sheathing (plywood or OSB) goes on before siding to brace everything square. Skip sheathing, and your shed will rack and twist.
Roof pitch matters. A 4:12 pitch (4 inches rise per 12 inches run) sheds snow and rain reliably. Anything flatter than 3:12 causes pooling and leaks in wet climates. For a 10-foot-wide shed, a 4:12 pitch means ridge height around 11–12 feet depending on overhang, verify this fits your lot before cutting rafters.
Roofing material choices:
- Asphalt shingles: Cheapest, 15–20 year lifespan, easiest DIY installation.
- Metal standing seam: Expensive upfront ($2,000+), 40+ year lifespan, superior in heavy snow/rain.
- Corrugated metal: Mid-cost, moderate lifespan, loud in rain, prone to rust at fastener holes if not sealed properly.
Siding and weatherproofing aren’t cosmetic. Proper flashing around vents and the foundation, a weatherproof bond between boards, and adequate overhang prevent water from creeping into the frame. Many DIY sheds fail not from structural failure but from water infiltration.
Beginner-friendly building guides walk through frame construction step-by-step. Use concrete footings if possible, apply flashing tape before siding, and prime all wood before painting or staining.
Tools you’ll actually need:
- Circular saw or miter saw for cuts
- Drill-driver and impact driver
- Level (4-foot minimum)
- Tape measure (25-foot)
- Pencil and speed square
- Shovel (foundation work)
- Stud finder for locating frame members
Rental equipment (ditch witch, concrete mixer) adds cost but saves time and physical strain. Budget $200–500 for tool rentals on a DIY shed.
Permits and codes: Check with your local building department before starting. Many jurisdictions require permits for sheds larger than 120–200 square feet. Some restrict shed placement relative to property lines (typically 5–10 feet minimum). Unpermitted structures create problems when selling property or filing an insurance claim. Permits cost $50–300 and take 2–4 weeks, but they’re worth the peace of mind.
Conclusion
A shed solves the tiny house storage puzzle, freeing interior space for living and giving you room for hobbies and tools. Right-sizing, proper foundation work, and honest assessment of your skill level determine success. Start small if you’re new to building, plan for growth as your needs evolve, and remember that a well-built shed pays dividends for decades.