Upgrading your home theater doesn’t always mean buying a bigger TV or chasing the latest streaming gadget. The real magic happens when sound wraps around you from every direction, and ceiling speakers are one of the smartest investments to make that happen. Whether you’re installing a full surround system or adding ambient audio to a room, ceiling speakers deliver overhead effects that floor-standing speakers simply can’t match. They’re also less intrusive than wall-mounted alternatives, disappearing into your ceiling while handling everything from rain sounds in a Dolby Atmos mix to dialogue panning above your head. This guide covers what makes ceiling speakers work, what to look for when shopping, and how to install them without turning your drywall into confetti.
Table of Contents
ToggleKey Takeaways
- The best ceiling speakers for home theater deliver overhead effects in Dolby Atmos and DTS:X soundtracks, adding height and immersion that standard floor speakers cannot provide.
- 6.5-inch ceiling speakers are the ideal sweet spot for most home theaters, balancing bass extension, treble quality, and ease of installation through standard ceiling cavities.
- Match speaker impedance (typically 8 ohms) and sensitivity ratings to your receiver’s specifications to ensure optimal performance and avoid compatibility issues.
- Proper placement is critical: position ceiling speakers 1–2 feet from your primary listening area and angle them about 15 degrees downward to direct sound at ear level.
- Budget-friendly options ($150–$350) suit smaller rooms and surround duties, while mid-range ($350–$600) and premium speakers ($600+) deliver superior clarity for larger spaces and Atmos setups.
- Always run speaker wire before installation, follow manufacturer mounting instructions carefully, and seal gaps with fire-caulk or drywall compound to prevent dust leaks and fire code violations.
Why Ceiling Speakers Matter in Home Theater Design
Ceiling speakers serve a specific role in a home theater setup, and understanding that role saves you from buying the wrong thing. In Dolby Atmos and DTS:X soundtracks, overhead channels create height effects, rain falling above you, helicopters crossing the ceiling, or a sense of being inside a space rather than just watching it. Without them, you’re missing up to a third of the audio information the filmmaker intended.
Beyond Atmos, ceiling speakers work as ambient or surround speakers in traditional 5.1 and 7.1 setups. Placing a speaker in the ceiling, angled slightly toward the listening area, gives you fuller room coverage without wall clutter. They’re also the best choice if you want audio for background music, podcasts, or patio parties without visible speakers interrupting your décor.
The placement advantage matters too. A ceiling speaker sits at ear level or slightly above when you’re seated, so sound doesn’t have to travel as far or bounce off as many surfaces before reaching you. This means cleaner dialogue, crisper effects, and a more immersive soundfield overall. Most homeowners don’t realize how much better their existing speakers sound once overhead channels are properly integrated.
Key Features to Look For When Choosing Ceiling Speakers
When you’re standing in a store or scrolling online, a few technical specs separate speakers that will wow you from those that’ll disappoint. Knowing what matters, and what doesn’t, keeps you from overpaying or undershooting performance.
Speaker Size and Power Rating
Ceiling speakers typically come in 5-inch, 6.5-inch, and 8-inch woofer sizes. Bigger isn’t always better: it depends on your room and budget. A 5-inch speaker works fine for smaller bedrooms or as surround speakers in a larger room, handling midrange and treble cleanly. 6.5-inch speakers are the sweet spot for most home theaters, they blend good bass extension with balanced treble and fit through most ceiling cavities without major framing.
8-inch models are powerful enough to serve as main speakers in some setups, but they’re heavier, require sturdier mounting, and eat more ceiling space. Power ratings (measured in watts RMS) typically range from 50 to 150 watts. Don’t chase wattage: instead, match the speaker’s sensitivity (measured in dB SPL at 1 meter) to your amplifier’s output. A speaker with 87 dB sensitivity needs less power to play at the same volume as one rated 84 dB, making it more efficient and flexible.
Impedance and Compatibility
Every speaker has an impedance rating, usually 8 ohms or 4 ohms. This matters because it needs to match your receiver or amplifier. Most home theater receivers are rated for 8-ohm speakers, so buy accordingly unless you have a good reason not to. If you’re wiring multiple speakers in parallel (running them off a single amplifier channel), you need to do the math so total impedance doesn’t drop below your receiver’s minimum safe load, usually 4 ohms.
Also verify that your ceiling speakers accept the same connector type as your receiver: standard binding posts (two separate terminals), banana plugs, or terminal blocks. Mismatched connectors mean extra adapters or a trip back to the store. Check your receiver’s manual to see what it supports, then verify the speaker matches before ordering.
Top Ceiling Speaker Options for Different Budgets
Price ranges vary widely, from $150 per pair to $800 or more. Where you land depends on room size, the rest of your system, and whether you’re buying for a single pair or a full set.
Budget-Friendly ($150–$350 per pair): Entry-level ceiling speakers from mainstream brands like Polk, Klipsch, and Yamaha deliver solid performance for smaller rooms and surround duties. They typically come with 6.5-inch woofers, simple mounting brackets, and 90 dB sensitivity, making them easy to drive. Expect clean mids and treble but less bass extension than premium models: pair them with a good subwoofer and you won’t miss it.
Mid-Range ($350–$600 per pair): Speakers from Definitive Technology, Kef, and Jamo offer better crossover design, higher sensitivity, and more refined tweeters. These suit larger rooms and primary overhead channels in Atmos setups. You’ll hear the difference in dialogue clarity and how seamlessly effects pan across overhead zones.
Premium ($600+ per pair): High-end brands like B&W, Focal, and SVS engineer speakers with superior driver materials, damping, and finish. They’re overkill for most ceilings but worth it if your home theater is also your main listening room. Quality resources such as Digital Trends reviews of ceiling speakers and Tom’s Guide’s ceiling speaker comparisons break down models with real listening impressions, a worthwhile read before spending.
Installation Tips for Maximum Performance
Installing ceiling speakers right makes the difference between a system that impresses and one that feels flat. Preparation and placement are everything.
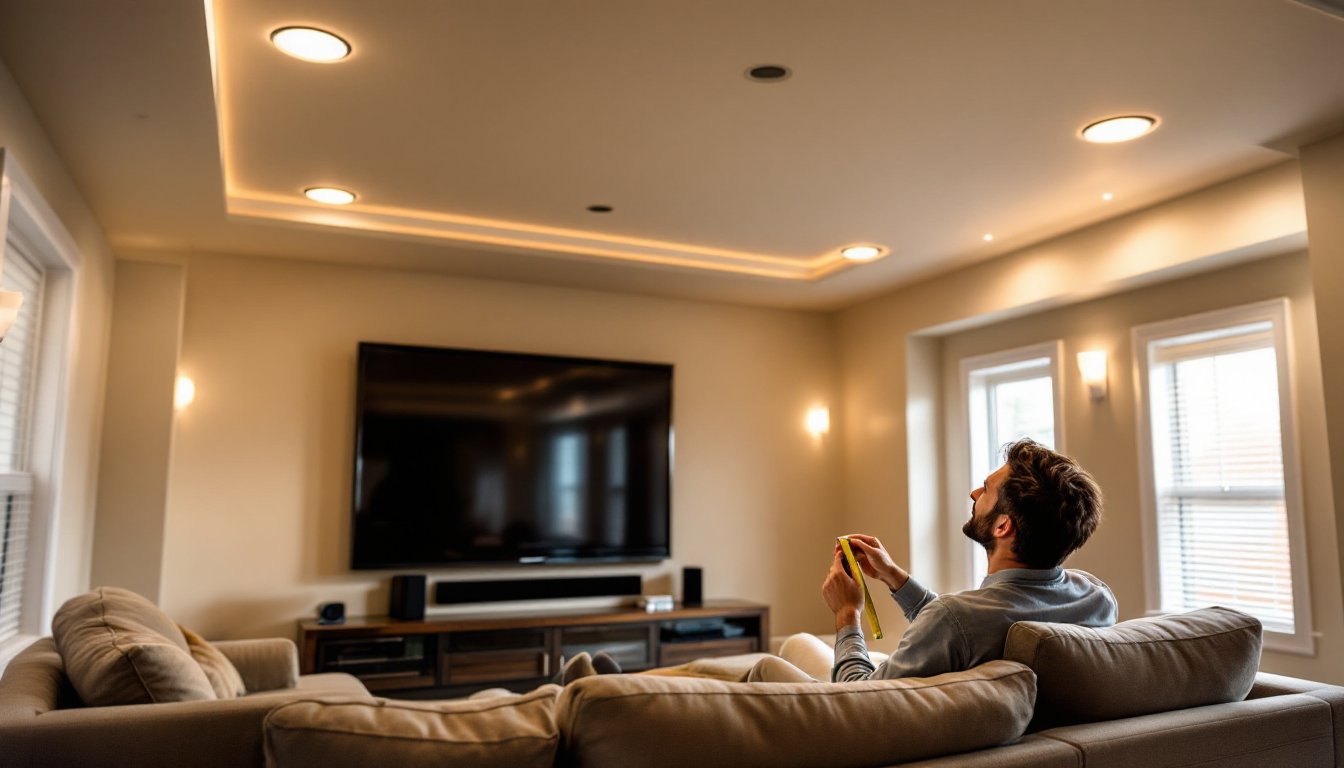
Planning the Location: Ceiling speakers for Atmos work best placed forward and to the sides in your seating area, not directly above. Aim for 1–2 feet from your primary listening spot, angled about 15 degrees downward so sound reaches your ears, not the back wall. Mark the location with a pencil before cutting any drywall.
Cutting and Framing: Use a drywall saw or hole saw to cut an opening matching your speaker’s trim ring, usually 6.5 or 8 inches in diameter. If you hit a ceiling joist or stud, shift the hole a few inches to avoid it: these support your ceiling and shouldn’t be cut. If you can’t avoid framing, this becomes structural work and may need a licensed contractor or a building permit in your area. Check local codes first, most jurisdictions don’t require permits for speaker installation, but it’s worth confirming.
Wiring: Run 14 AWG or 12 AWG speaker wire from your receiver to each ceiling speaker opening before installing the speaker. Use blue wire or electrical tape to mark the positive and negative runs so you wire them consistently. Leaving wire slack in the ceiling lets you adjust speaker position later without rewiring.
Mounting: Most in-ceiling speakers use spring clamps or sliding brackets that grip the drywall and joist from above. Follow the manufacturer’s instructions, over-tightening can crack the frame or damage drivers. Secure the trim ring first with small fasteners, then gently lower the driver unit until it’s flush.
Sealing and Finishing: Don’t skip fire-blocking. If your local code requires fire-rated speakers, use those and seal any gaps around the frame with fire-caulk. Standard speakers should still be sealed with drywall compound or trim caulk around the rim to keep dust and noise from leaking into the cavity above. Let it dry fully before connecting power. Good Housekeeping’s home safety guides cover additional building safety standards for renovation projects, useful if you’re working near HVAC or electrical runs.
Testing and Tuning: Once installed, run a test tone or your Atmos demo disc through each speaker. Adjust your receiver’s speaker levels so all channels play at the same volume (most receivers have a mic-based auto-calibration feature that handles this). If overhead channels feel too loud or too quiet, use your receiver’s menu to fine-tune levels by ±3 dB. Expect to spend an hour or so dialing things in.
Conclusion
Ceiling speakers unlock a dimension of home theater that floor and wall speakers can’t reach. Pick the right size and sensitivity for your room, verify impedance compatibility with your receiver, and take time on installation, measure twice, cut once, and seal everything properly. The effort pays back every time you sit down to watch something mixed for Atmos.