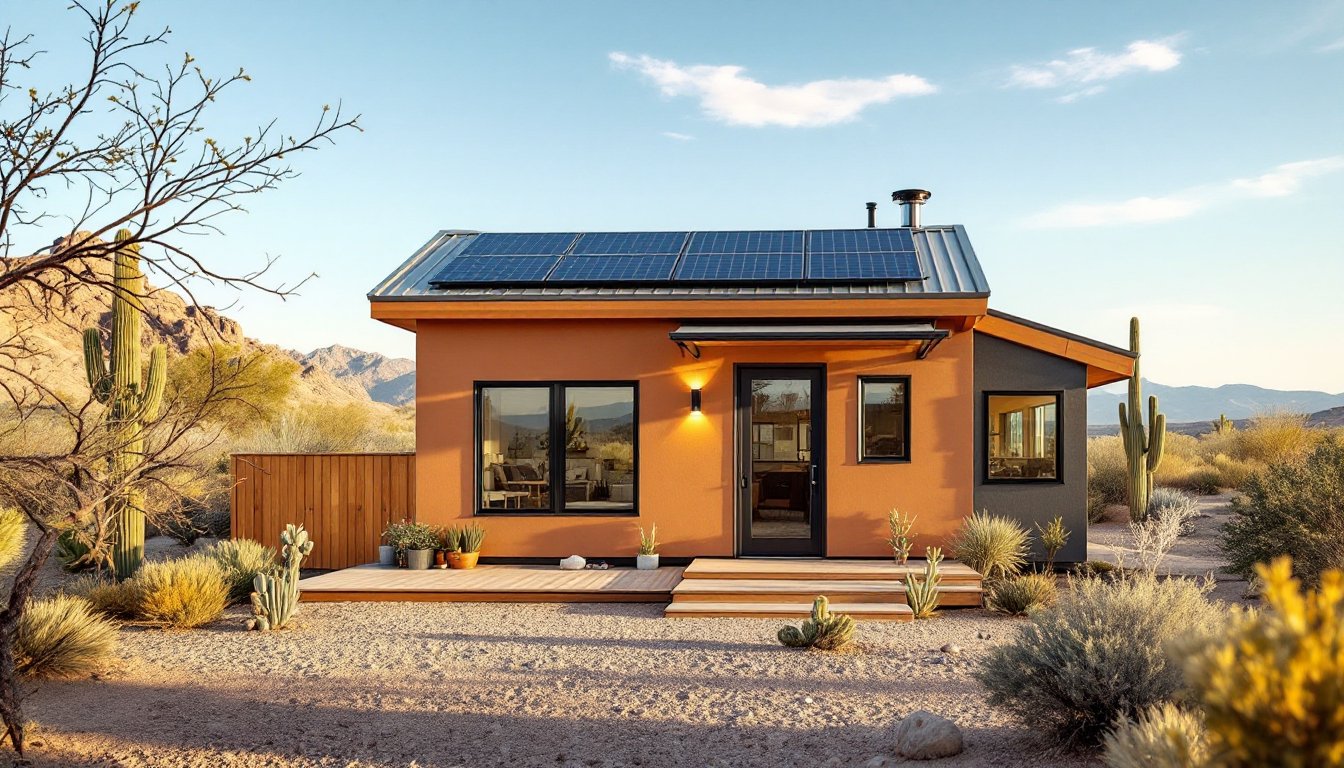
Converting a shed into a tiny house is one of the smartest DIY pivots a homeowner can make. You’ve already got a foundation, a roof, and walls, why start from scratch? A shed-to-tiny-house conversion lets you reclaim backyard space while creating a rental unit, guest cottage, home office, or personal retreat without the six-figure price tag of building from the ground up. The work isn’t trivial, though. It demands serious planning around local codes, utilities, structural integrity, and interior layout. But with honest prep work and methodical execution, you can transform a basic storage shed into a fully livable micro-dwelling that rivals professionally built tiny homes.
Table of Contents
ToggleKey Takeaways
- A shed converted to tiny house costs $15,000–$30,000 with DIY labor, significantly cheaper than a $40,000–$80,000 tiny home trailer, while using existing structures to save months of framing work.
- Before starting a shed conversion, contact your local building department to understand permit requirements, zoning laws, ADU allowances, and setback restrictions to avoid fines, liens, or insurance issues.
- Structural assessment is critical—inspect roof integrity, floor framing, foundation type, insulation, and utility rough-ins; gravel foundations are insufficient for dwellings and require concrete or proper footers.
- A mini-split heat pump ($2,000–$4,000 installed) is the most efficient heating and cooling option for tiny house conversions, superior to window units or baseboard heaters in small spaces.
- Complete electrical rewiring is mandatory for habitability, requiring a minimum 200-amp service, dedicated circuits, and GFCI protection, with professional installation recommended for safety and code compliance.
- Interior layout discipline using Murphy beds, loft beds, galley kitchens, and built-in storage transforms 240 square feet into a comfortable micro-dwelling that feels spacious through strategic lighting, light colors, and vertical storage.
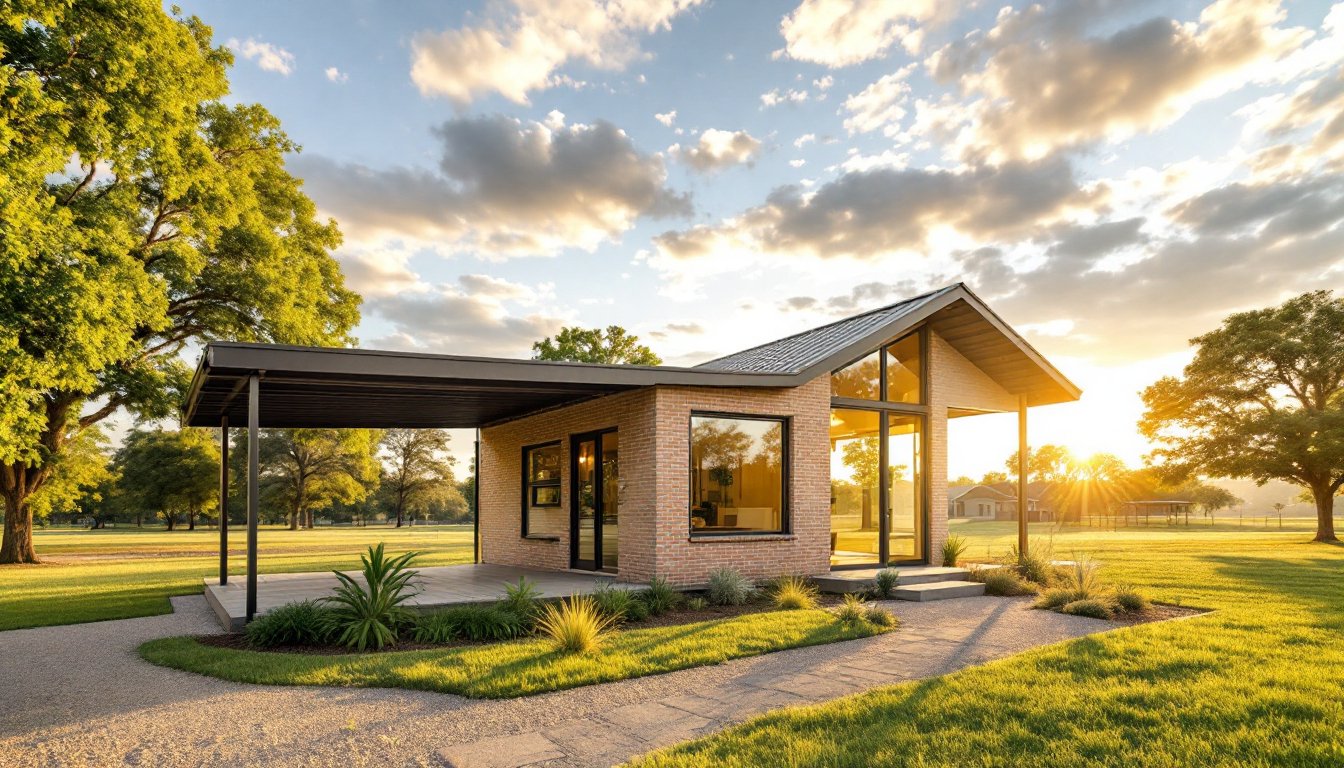
Why Convert a Shed Into a Tiny House
The appeal is straightforward: speed and cost. A pre-made shed frame cuts your framing labor by months. You’re not pouring a foundation from scratch, raising walls in the rain, or waiting for delivery trucks. You start with dry, enclosed space.
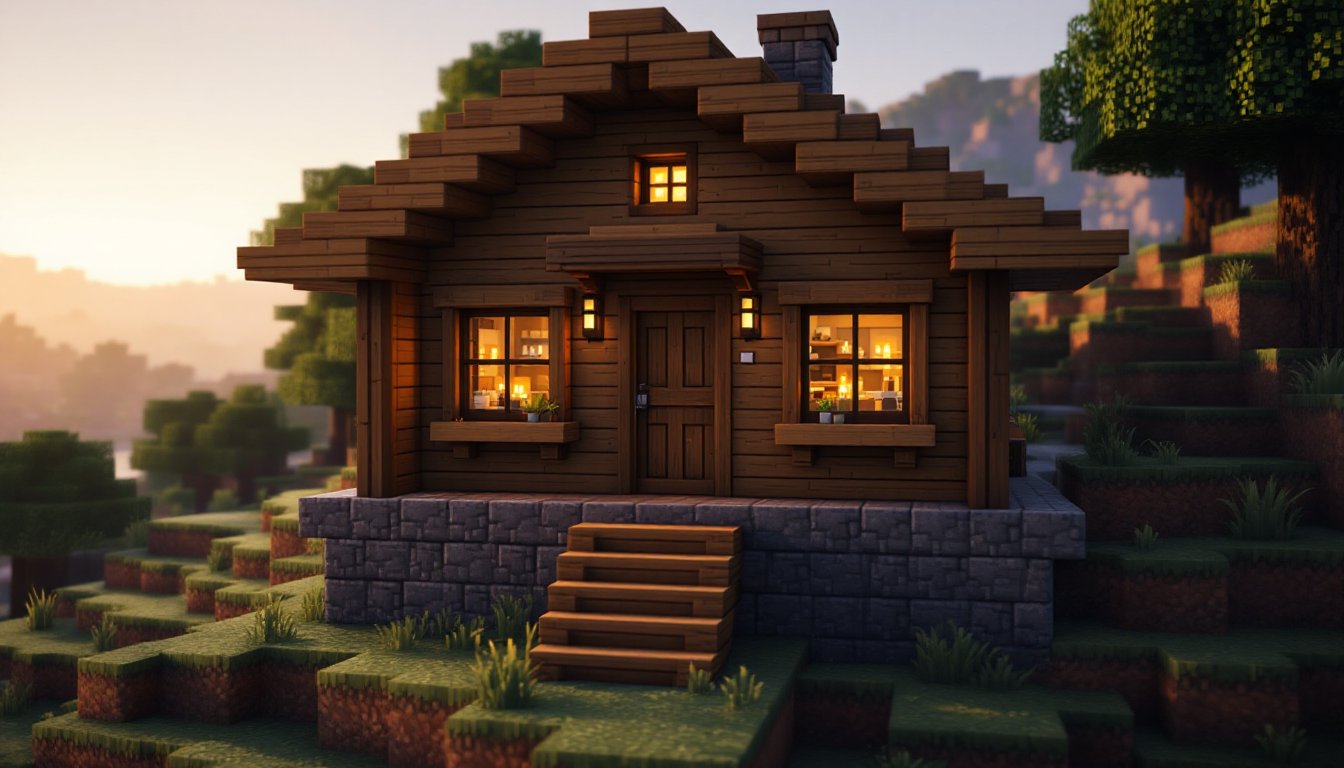
A standard storage shed (12×20 feet, for example) gives you 240 square feet, livable for one or two people if you’re smart about every inch. That’s cheaper than most tiny home trailers, which run $40,000–$80,000 before delivery and setup. A converted shed might cost $15,000–$30,000 if you do much of the labor yourself, depending on your region and material choices.
The other win: zoning flexibility. Many jurisdictions allow detached accessory dwelling units (ADUs) or guest structures on residential lots where a full second house wouldn’t be permitted. Check your local codes first, we’ll cover that next, but a “converted shed” sometimes faces less pushback than a “new tiny house.” You’re also building on your own land, with your own schedule, no contractor overhead.
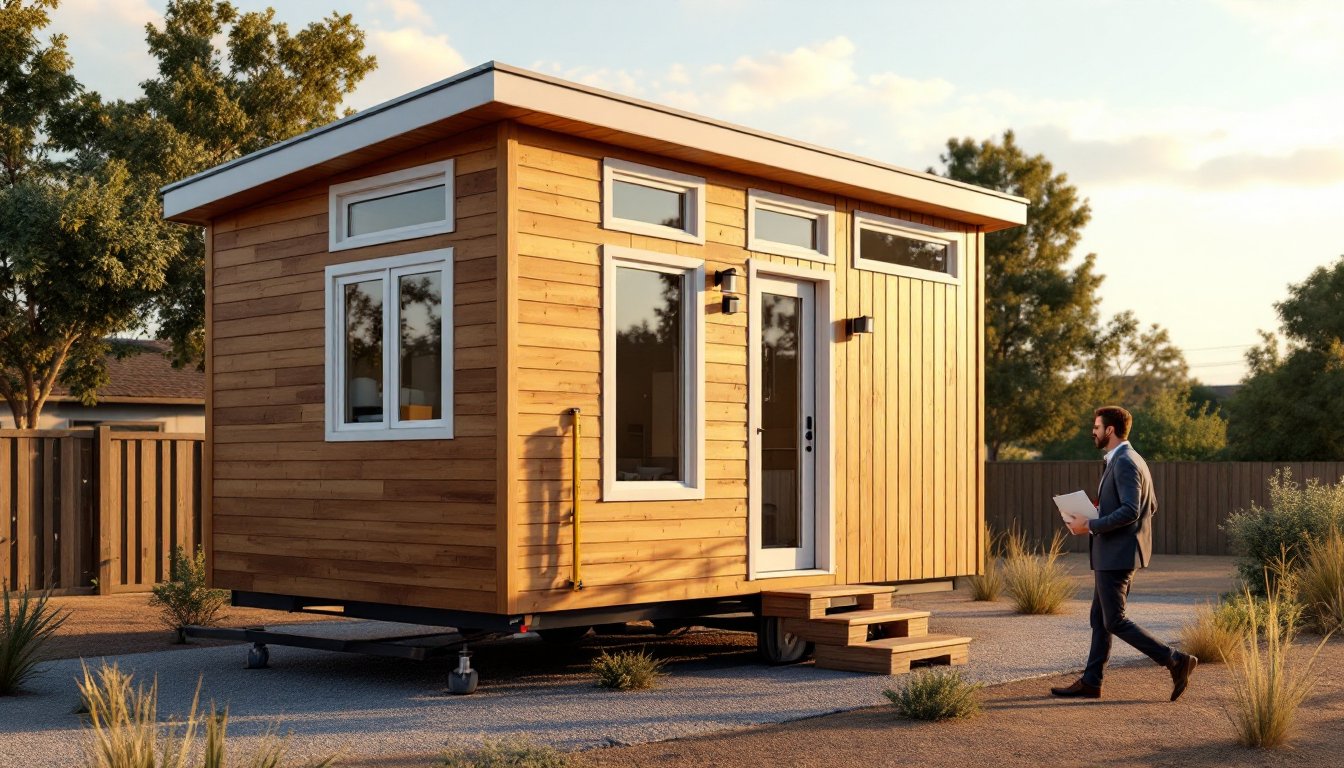
Essential Planning and Permits Before You Start
This is where most DIYers stumble. A converted shed starts as a utility building. Upgrading it to a dwelling unit triggers building permits, electrical permits, and often plumbing permits. Skip this step and you’ll face fines, insurance headaches, or a lien on your property.
Contact your local building department, not a contractor, the department itself. Ask:
- Do you need permits for an ADU or accessory dwelling?
- Are there setback requirements (how far from property lines)?
- Is there a size cap or height restriction?
- Does it require a separate water/sewer connection or can it tie into the main house system?
- Are there energy code requirements (insulation R-values, window ratings, HVAC efficiency)?
Bring a sketch and any documentation of your existing shed. Be clear that you’re converting storage to residential. Some municipalities charge $500–$2,000 for permits: others may require inspections at framing, electrical, plumbing, and final stages. Budget time for this, review periods can stretch 4–8 weeks.
Understanding Local Zoning Laws
Zoning varies wildly. A rural county might welcome ADUs with minimal fuss. An urban neighborhood might require expensive parking, setbacks, or ongoing homeowner association approval. Some jurisdictions cap ADU rent: others mandate owner occupancy of the primary residence.
You’ll need to check:
- Zoning classification of your property (residential, mixed-use, etc.)
- ADU or guest dwelling allowances in your zone
- Lot size minimums for secondary structures
- Affordability requirements (some areas mandate rent caps if you rent it out)
- Parking and landscaping rules
If your property sits in a historic district or homeowner association, add another layer of approvals. Get this in writing before you commit money to the project. A zoning variance is possible if your shed doesn’t fit current rules, but it’s slow and costly.
Assessing and Preparing Your Shed
Assume nothing. A 10-year-old shed isn’t automatically sound. Before you plan layouts or order materials, get real about what you’re working with.
Structural checks:
Look for sagging roof lines, soft spots in the floor (press hard with a screwdriver, rotten wood crushes), or walls that aren’t plumb (use a level or plumb bob). Check if the foundation is solid concrete, gravel, or skids. Concrete or a proper footer is non-negotiable for a dwelling: gravel won’t pass inspection. If the floor framing is compromised, you may need to sister new joists alongside damaged ones or pour a proper foundation.
Inspect the roof, is the decking intact? Are there active leaks or stains? A conversion isn’t the place to cut corners on weather-tightness. Plan for new roofing, underlayment, and flashing if the existing roof is over 10 years old.
Walls and insulation:
Unsheathed stud bays aren’t livable without insulation and a vapor barrier. If your shed is framed but not insulated, you’ll need to add insulation (typically 3.5–6 inches of fiberglass or foam in 2×4 walls), a vapor barrier on the warm side, and drywall. That adds labor and cost but is mandatory for energy codes.
Utility rough-ins:
Note any existing electrical outlets, water lines, or drain pipes. Most sheds have a single 120V circuit, nowhere near what a dwelling needs. Plan for complete rewiring. Similarly, if there’s no plumbing, you’re starting from zero.
Clean, measure, and document everything with photos. This baseline keeps you honest and helps you plan the next phases without assumptions.
Key Systems: Utilities and Infrastructure
Utilities are the backbone of habitability. You can’t fake this part.
Water and sewer:
If your main house has a well and septic system, a second dwelling might overload the septic tank. Many jurisdictions require a separate tank or an approved connection strategy. If you’re on municipal water and sewer, you may need a separate meter and service line, expect $1,500–$5,000 for professional installation, depending on distance and local rates. Some areas allow a shared meter with the main house if the deed reflects it. Get this in writing from your building department before digging.
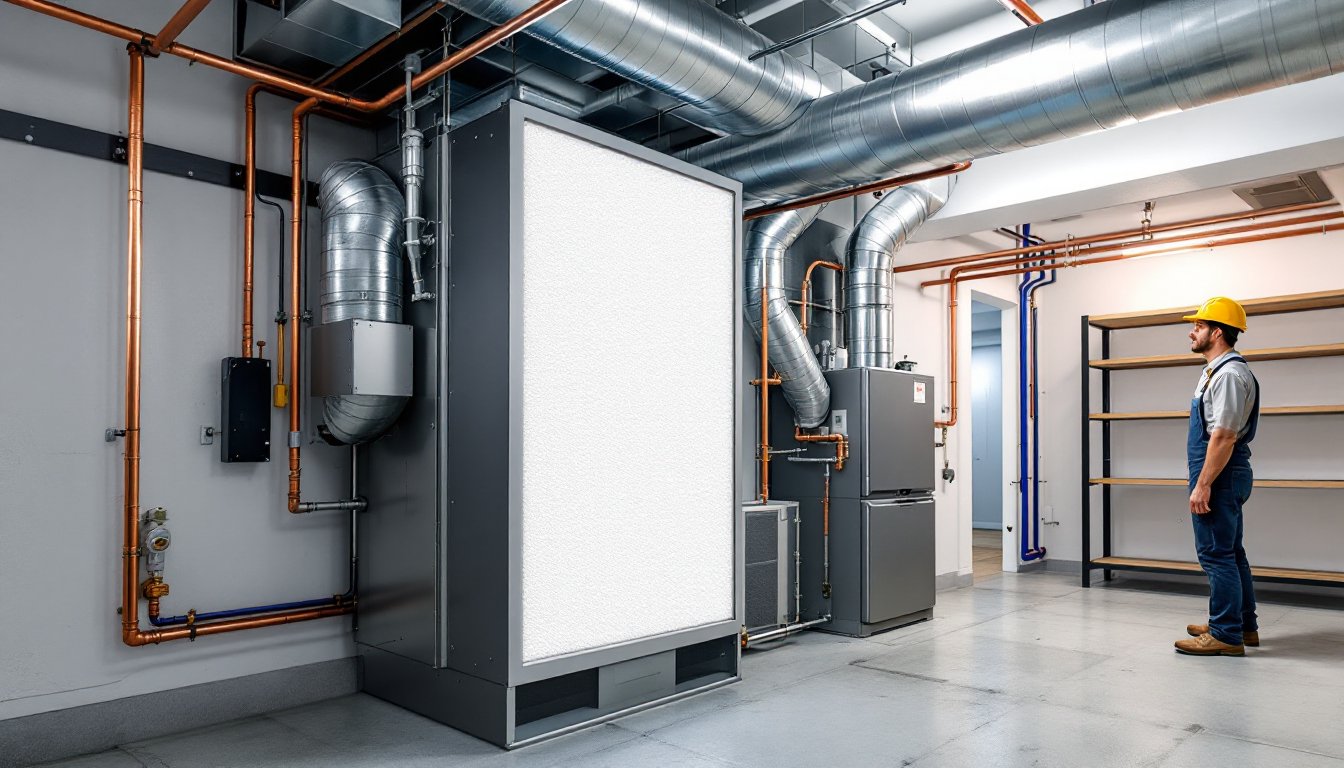
Heating and cooling:
A shed has no thermal mass. You’ll need active heating and cooling. Options:
- Mini-split heat pump: Quiet, efficient, ductless, $2,000–$4,000 installed. Ideal for small spaces.
- Window A/C + baseboard heaters: Cheaper upfront ($500–$1,000), louder, less efficient.
- Conventional HVAC: Overkill for a tiny house but possible if space allows ductwork.
Choose based on climate, zoning, and budget. A mini-split is the favorite in tiny conversions.
Electrical, Plumbing, and HVAC Setup
Electrical work must follow the National Electrical Code (NEC). This isn’t a place for shortcuts. A standard dwelling needs:
- 200-amp service minimum from the main panel (some jurisdictions allow 100 amps for small ADUs, check locally).
- Dedicated circuits for kitchen appliances, bathroom, lighting, outlets.
- GFCI protection for kitchen, bathroom, laundry, and exterior outlets.
- Proper grounding and bonding throughout.
You can run wire and install outlets yourself in many jurisdictions if you pull a permit and have the work inspected. Larger panels and meter work typically require a licensed electrician. Hiring out electrical is reasonable insurance: a mistake can cause fires.
For plumbing, size matters. A tiny kitchen and bathroom need properly sized supply lines (usually 0.75–1 inch main, 0.5 inch to fixtures) and drain stacks with vent pipes (not optional, they prevent siphoning and allow air). Traps, P-bends, and vents all have code minimums. Plumbing is also permit-heavy: many areas require a licensed plumber. If you’re handy with soldering copper or crimp fittings, PEX tubing, you might DIY some runs, but hire a pro for the main hookup.
HVAC installation depends on your system. A mini-split is straightforward, refrigerant lines, electrical, and indoor/outdoor units, but requires EPA certification for refrigerant handling in most states. Unless you’re certified, hire this out. Window units and electric baseboards you can install yourself with standard tools.
Interior Design for Maximum Space and Comfort
With roughly 240 square feet, layout discipline determines livability. Cramped doesn’t have to mean miserable, but careless does.
Prioritize zones:
Divide the space into sleeping, living, kitchen, and bathroom areas. A Murphy bed setup folds away during the day, reclaiming floor space for living or working. Alternatively, a loft bed (if ceiling height allows, 9 feet minimum for safety and comfort under a loft) keeps the footprint clean.
The kitchen doesn’t need full size. A galley layout with a compact stove, fridge, and sink works. Overhead cabinets stretch storage. A small bar or fold-down counter serves as dining. Proven layouts for tiny homes show how to adapt space efficiently.
Storage strategy:
Under-bed drawers, vertical shelving, and multi-use furniture are non-negotiable. Built-ins, shelves, cabinets, benches with storage, maximize every wall. Decluttering practices prevent hoarding and keep the space breathable.
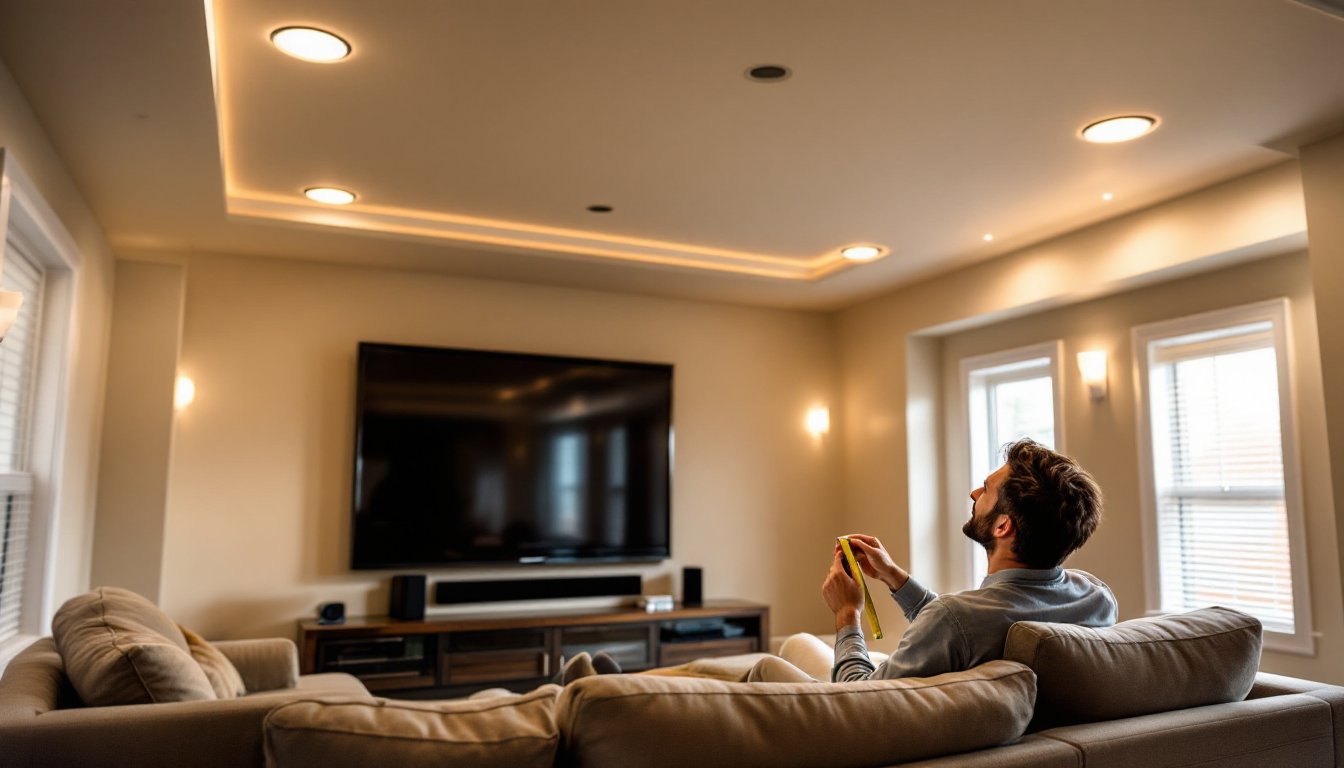
Lighting and windows:
Small spaces feel smaller with dim lighting. Layer ambient, task, and accent lighting. Recessed fixtures save headroom: pendant lights add style. Windows are psychological, they expand perceived space. If your shed has few windows, add skylights or clerestory windows during your reframe. This lifts mood and reduces daytime power use.
Material and finishes:
Light paint colors (soft whites, pale grays) reflect light. Matte finishes reduce glare. Vinyl plank flooring or polished concrete is durable and easy to clean, important in tight quarters where spills compound quickly. Drywall or beadboard walls cost less than shiplap but are easier to patch. Paint, not wallpaper: wallpaper dates fast in tiny homes.
Consult resources on efficient appliances and systems that reduce utility footprint and operational cost. Free plans for custom built-ins and furniture scaled for compact homes are available through various homebuilding communities. Advanced framing and material science topics covering insulation, vapor barriers, and interior finishes are well-documented in professional building guides.