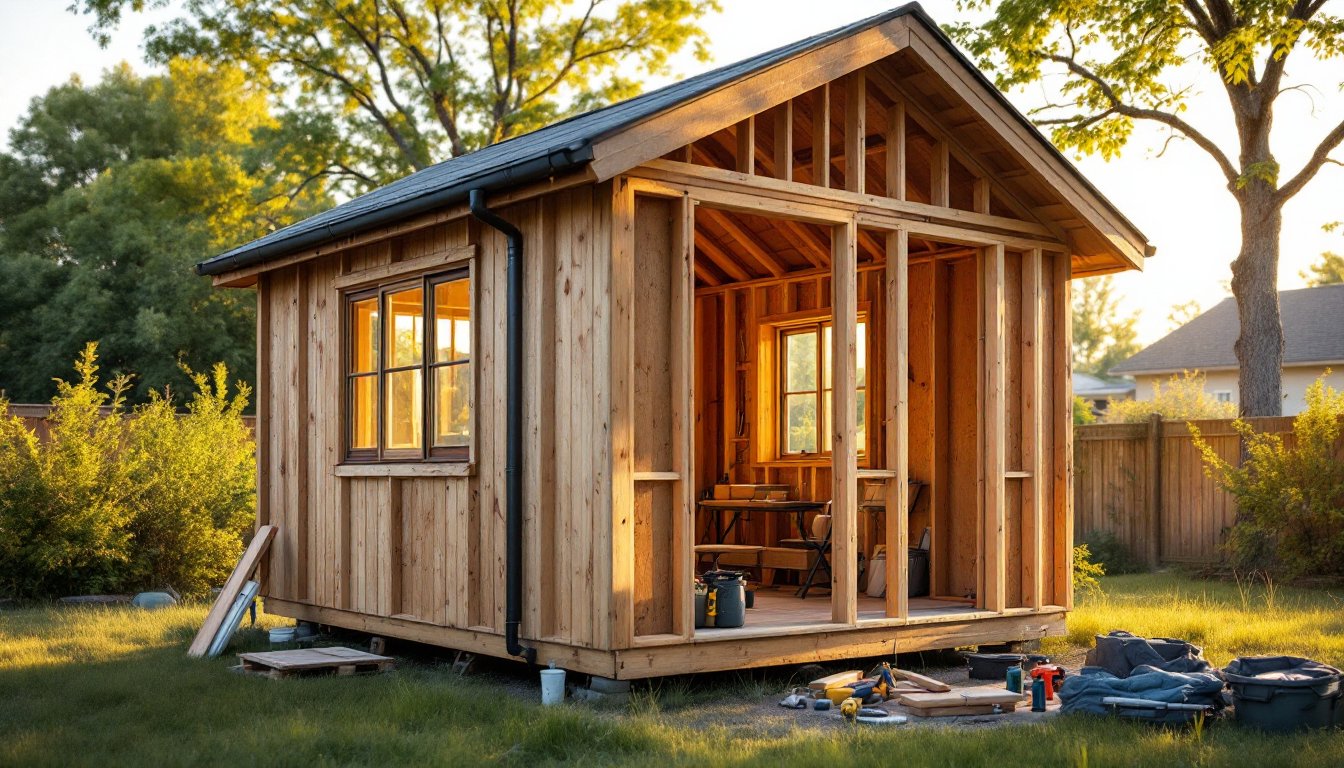
Shed tiny homes are redefining affordable housing and creative living solutions. What once served as a garden storage space can now become a fully functional, off-grid dwelling, complete with insulation, electrical systems, and plumbing. Homeowners and DIY enthusiasts are discovering that converting a backyard shed into livable space offers flexibility, lower costs than traditional construction, and a chance to build something meaningful with your own hands. Whether you’re looking to create a guest house, home office, or primary residence, understanding the fundamentals of shed conversion is your first step toward turning timber and sweat equity into a real home.
Table of Contents
ToggleKey Takeaways
- Shed tiny homes convert existing or pre-fabricated structures into affordable, fully functional dwellings in roughly 240 square feet, costing significantly less than traditional ground-up construction.
- Zoning laws and building permits are critical—contact your local building department first to understand setback requirements, ADU classifications, and whether shed conversions are permitted in your area.
- Proper insulation (R-15 to R-21 for walls, R-30 to R-49 for roofs) with a vapor barrier is essential to prevent moisture damage and maintain year-round livability in your shed tiny home.
- Electrical systems require adherence to the National Electrical Code, including proper wire gauge, outlet spacing every 6 feet, GFCIs in wet areas, and licensed inspection—never cut corners on electrical safety.
- Maximize limited space using vertical storage, built-in furniture, pocket doors, and light, neutral color schemes to create a functional, comfortable interior that feels open and efficient.
What Are Shed Tiny Homes and Why They’re Gaining Popularity
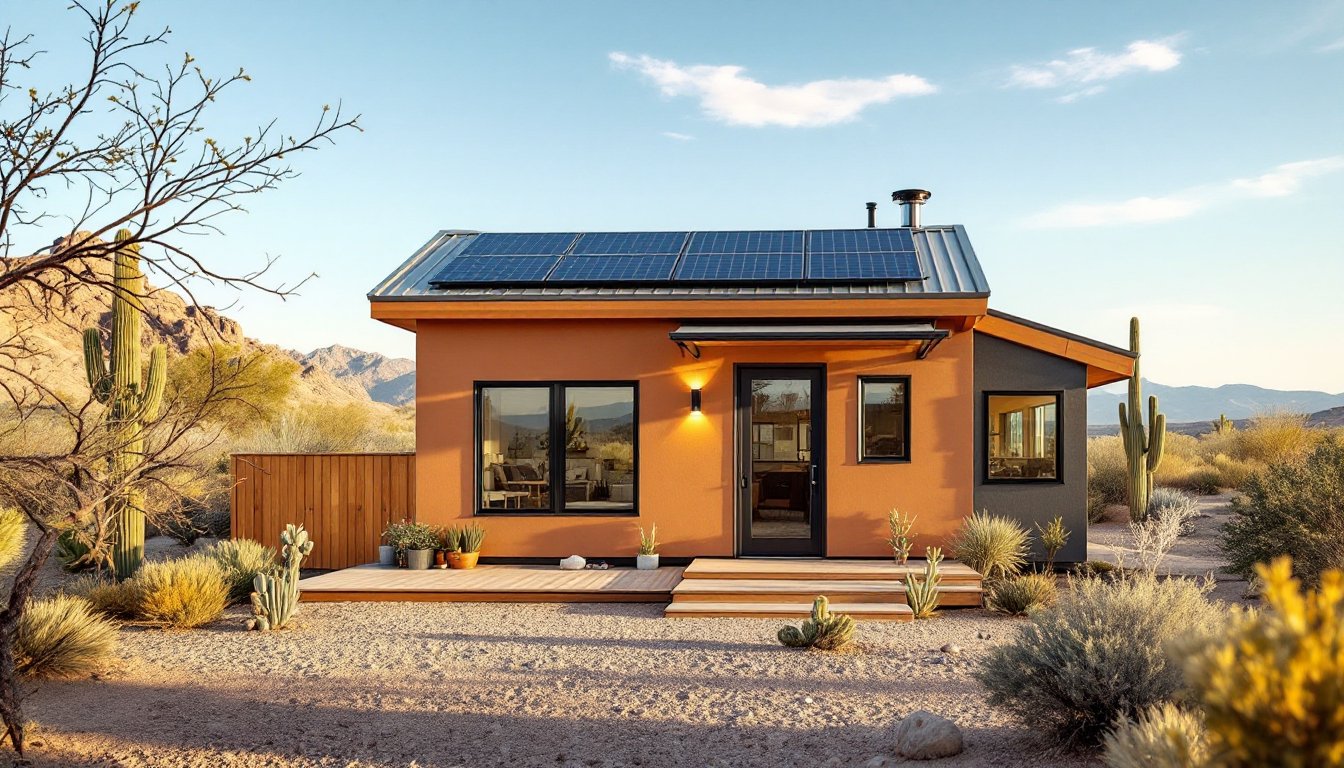
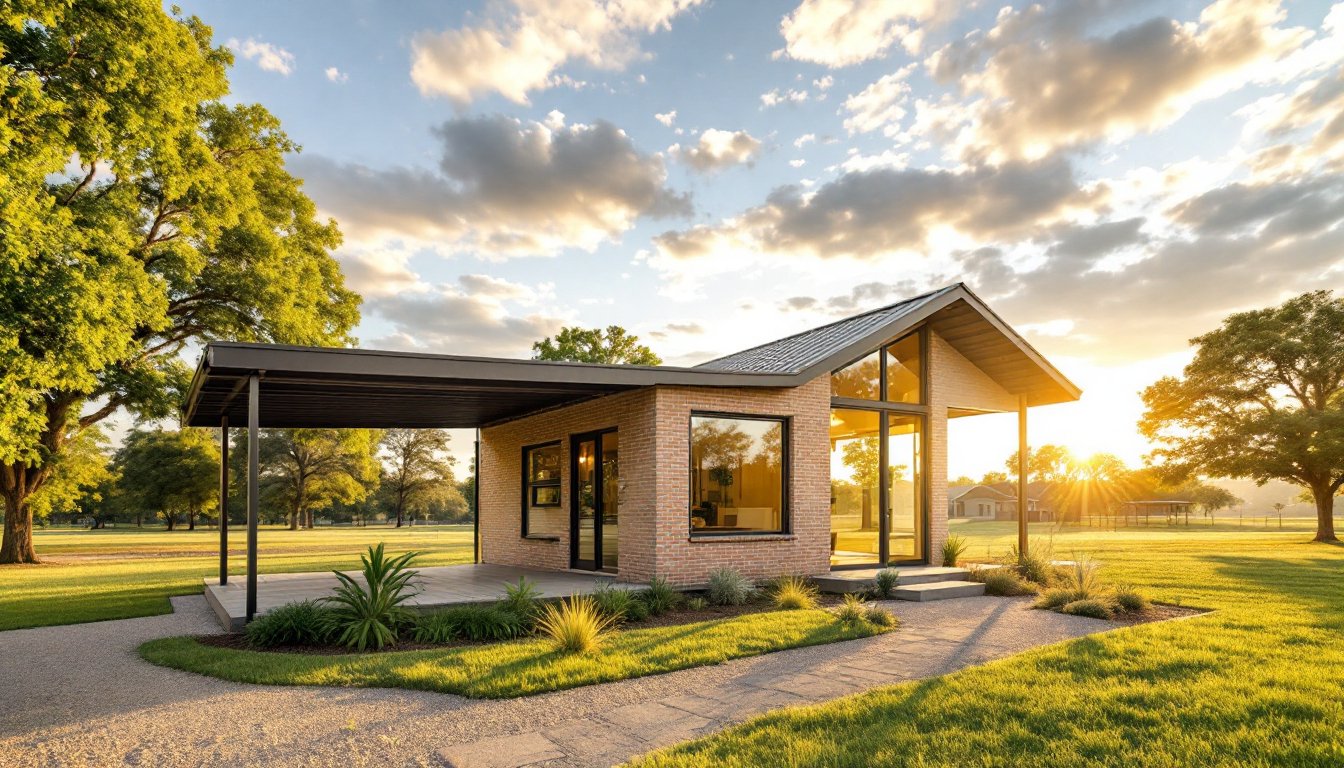
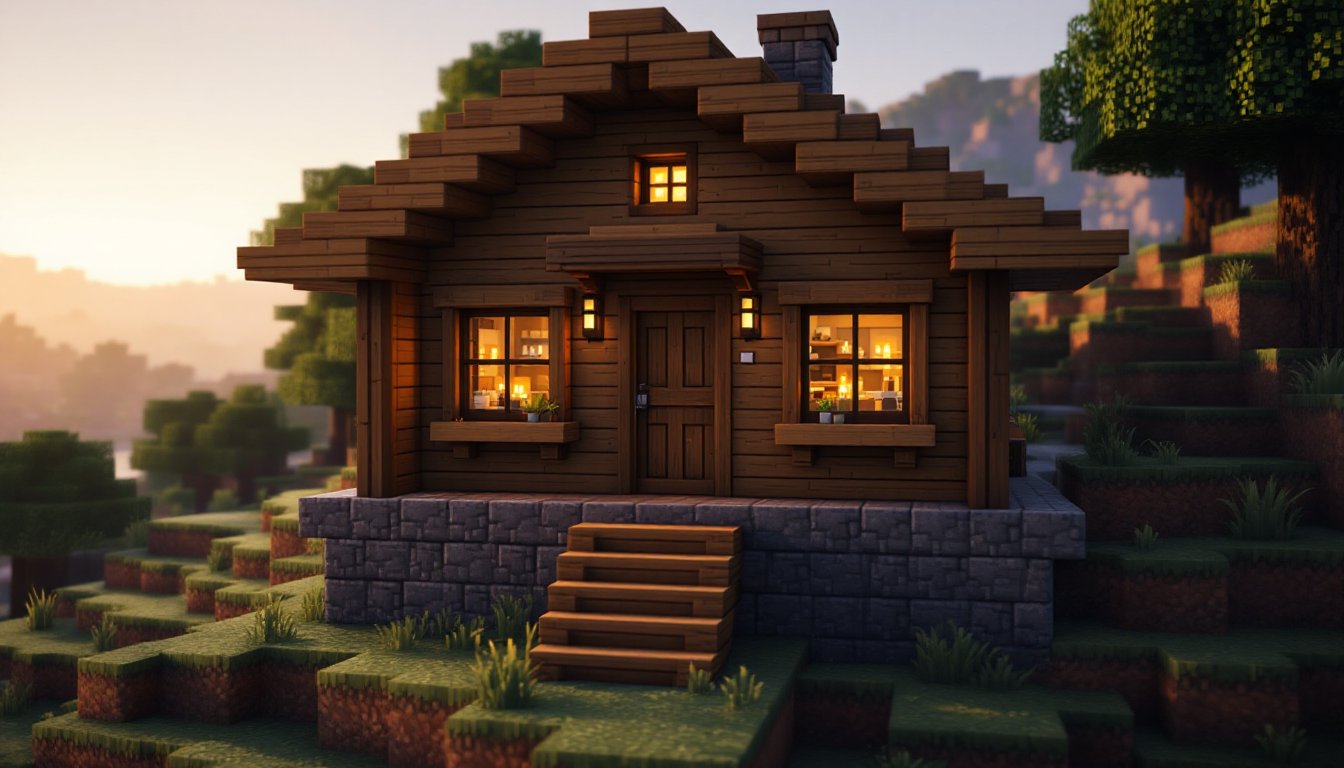
A shed tiny home is a converted or purpose-built agricultural or storage building transformed into a compact, livable dwelling. Unlike traditional tiny homes on wheels, shed conversions start with an existing structure, a pre-fab shed, a custom-built wooden frame, or even a metal carport shell, and add the infrastructure needed for year-round habitation.
They’re gaining traction for practical reasons. A standard 12′ × 20′ shed provides roughly 240 square feet, enough for a sleeping area, kitchenette, bathroom, and living space. Building from an existing shed costs significantly less than ground-up construction. Labor, foundation work, and inspections are streamlined. For those interested in exploring this lifestyle further, shed tiny homes resources detail real-world conversions and cost breakdowns.
They appeal to homeowners facing housing shortages, investors seeking rental income (accessory dwelling units, or ADUs), and people who want to downsize without sacrificing comfort. The DIY aspect also attracts hands-on builders who want control over every detail and the satisfaction of owner-built craftsmanship.
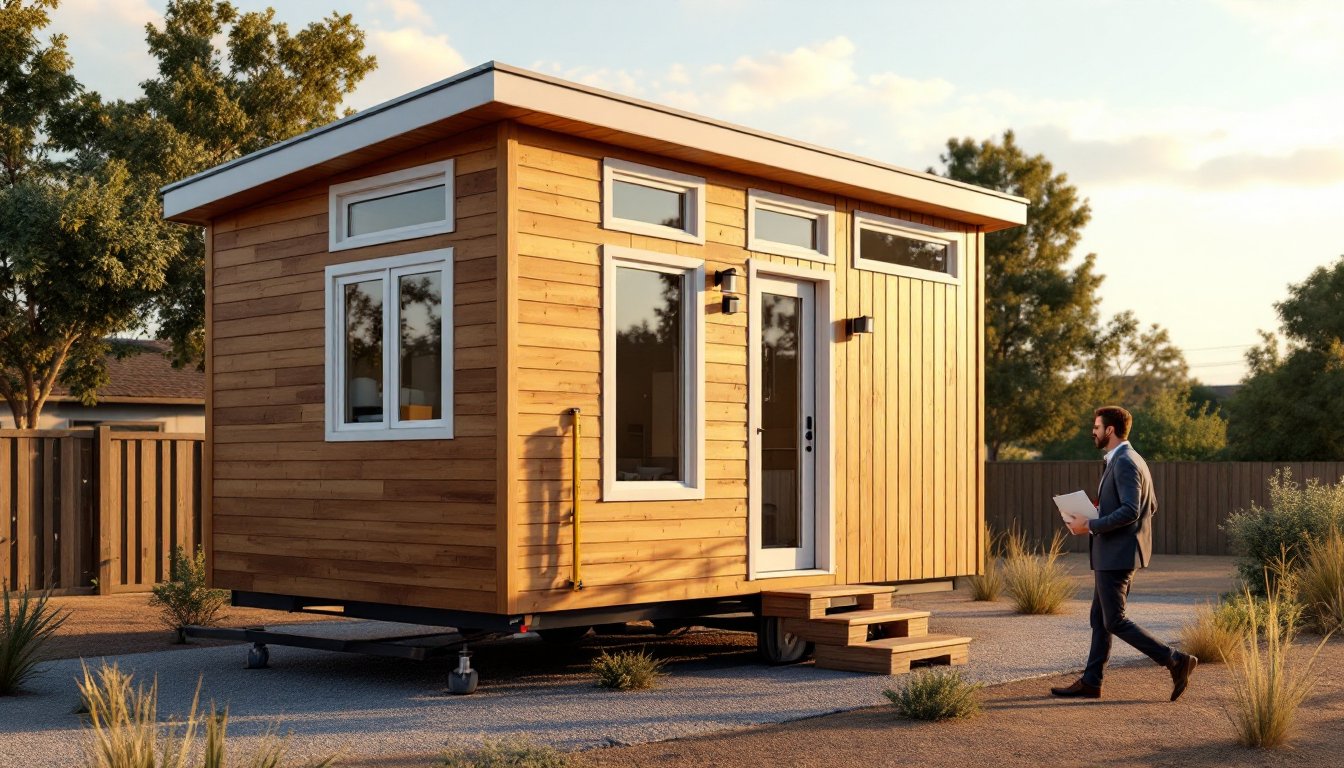
Essential Planning and Zoning Considerations Before You Build
Before you break ground, get your permits and zoning right, skipping this step can derail an entire project.
Zoning laws vary dramatically by jurisdiction. Some counties treat shed conversions as simple accessory structures: others classify them as ADUs and impose strict requirements: minimum floor area (often 400–600 sq. ft.), setback distances from property lines, off-street parking, or owner-occupancy rules. A few areas prohibit them entirely. Call your local building department or county assessor first. It’s not glamorous work, but it saves thousands in fines or forced demolition.
If your shed sits on existing foundation with established utilities nearby, you’re in better shape. If you’re starting from scratch, factor in septic system installation (or municipal sewer hookup), well drilling, and electrical service upgrades. A 2-acre minimum lot is typical for septic systems in rural areas, again, check locally.
Building permits are usually required for structural work, electrical, and plumbing. Depending on your location, you may need a mechanical permit for HVAC, a plumbing permit for water lines, and an electrical permit for circuit installation. Hiring a licensed electrician and plumber isn’t just smart practice: it’s often code-mandated. Some jurisdictions require a professional inspection even for minor work. Being upfront about permits also protects your liability and resale value.
Measure your lot size, existing utilities, and setback requirements before ordering materials. A site visit from the building official can save confusion later.
DIY Conversion: Insulation, Electrical, and Plumbing Basics
Insulation and Climate Control
Proper insulation separates a usable home from a sweatbox or freezer. Most shed conversions use R-15 to R-21 wall insulation (2–6 inches of fiberglass, mineral wool, or spray foam) and R-30 to R-49 roof insulation, depending on climate zone. Check your local energy code for minimum requirements.
Start with a vapor barrier, typically 6-mil polyethylene sheeting stapled to the interior wall framing before insulation. This prevents moisture from migrating into stud cavities, which causes rot and mold. In humid climates, consider a Class IV vapor barrier (like Kraft paper-faced batts) that allows some drying.
Batts (the standard rolls of fiberglass) are DIY-friendly: wear a mask and gloves, cut to fit between studs, and staple flanges to the frame. Spray foam offers better air-sealing but requires equipment rental or hiring a pro. For a 240-sq.-ft. shed, expect 50–80 hours of labor using batts, or $1,500–$3,000 if you hire the insulation work.
For climate control, a mini-split heat pump (ductless AC/heating) is popular in tiny homes: efficient, quiet, and requires only a small refrigerant line hole through the wall. A window unit or through-wall AC works for summer: a propane or wood stove handles winter heat (always vent to outside). If using propane, you’ll need a regulator, fuel tank, and inspection.
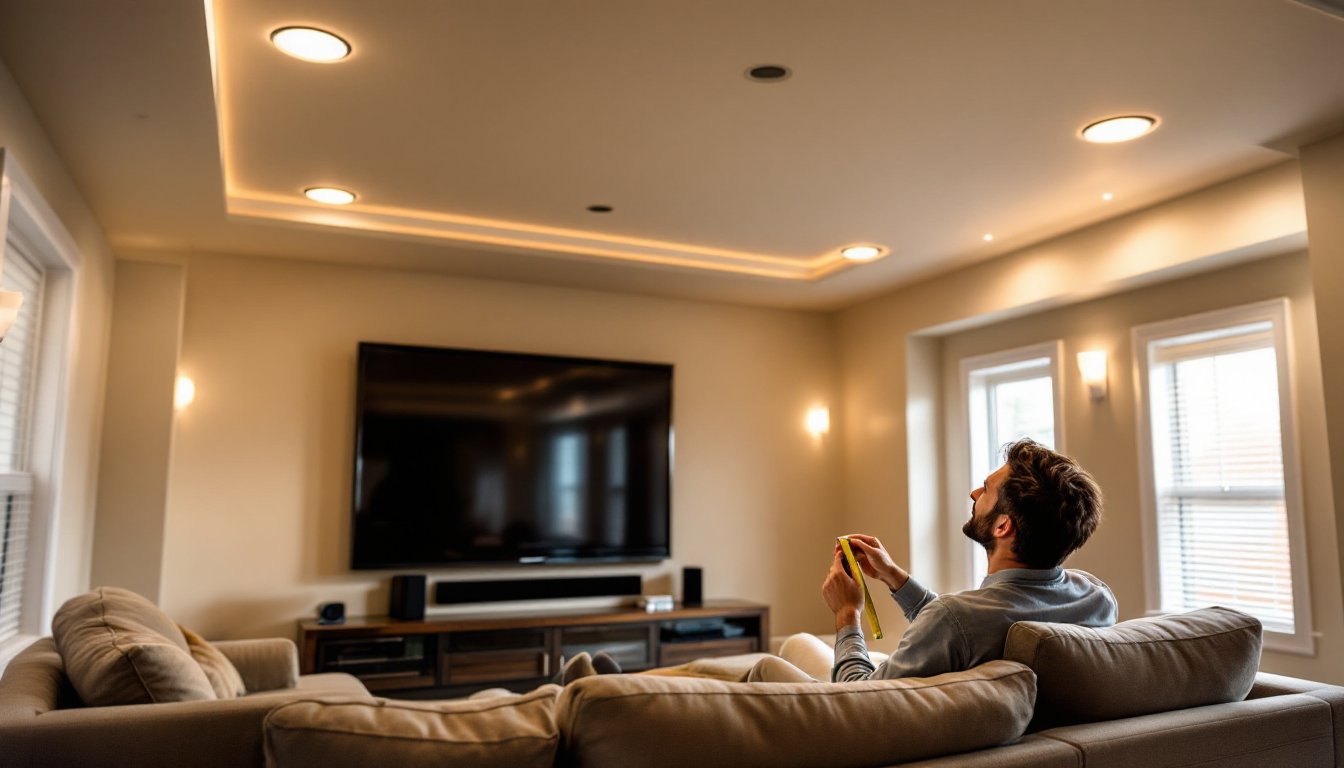
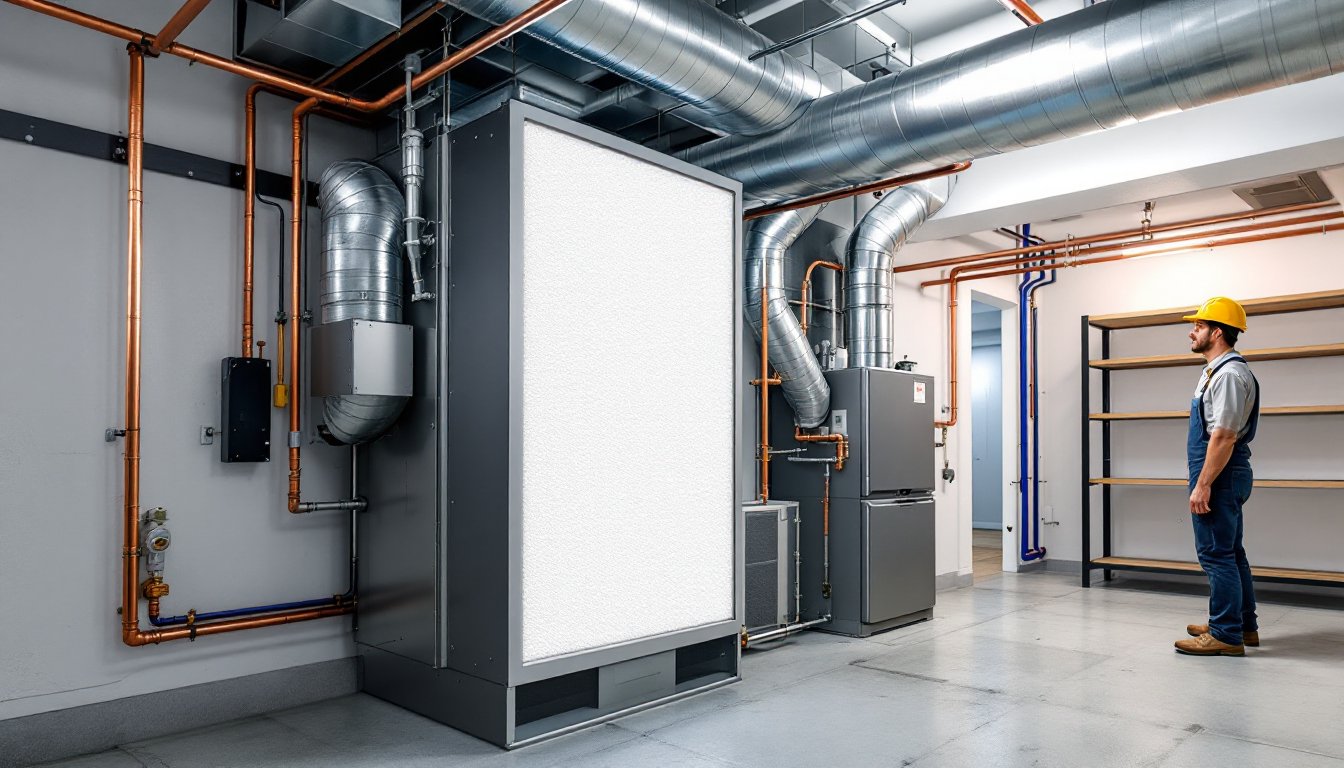
Electrical Systems and Safety
Electrical work is where code gets serious. The National Electrical Code (NEC) governs wiring size, outlet spacing, grounding, and circuit capacity. Most jurisdictions require a licensed electrician for service panel upgrades and final inspection. But, you can often rough-in (run conduit and wire through walls) before insulation if the inspector approves.
A shed tiny home typically needs a 60–100 amp subpanel fed from the main house panel or a dedicated utility meter. Each room must have an outlet every 6 feet along walls, GFCIs (ground-fault circuit interrupters) in wet areas (kitchen, bathroom), and proper grounding. Don’t skimp, use 12-gauge wire for 20-amp circuits and 10-gauge for 30-amp circuits. Undersized wire causes fire hazard.
When you’re routing wire, run it through a separate conduit (plastic or metal tube) along studs, securing every 16 inches. Label every breaker. Have the work inspected before you close walls. If you’re uncertain about any step, sizing a breaker, selecting wire gauge, calculating load, stop and consult the NEC or call a licensed electrician. A code violation discovered after final inspection can force rewiring.
For lighting, LED fixtures use minimal power and generate little heat. Recessed can lights, under-cabinet strips, and pendant lights all work well in compact spaces. Install a main disconnect switch near the entry for safety.
Interior Design and Maximizing Limited Space
In 240 square feet, every inch counts. Start by zoning: sleeping area in a loft or enclosed corner, living/kitchen in the main space, and bathroom in the smallest dry corner.
Built-in furniture beats freestanding pieces. A bed platform with storage drawers underneath, shelves above, and a fold-down desk save floor space. A kitchenette with a compact stove, mini-fridge, and sink, rather than full appliances, leaves room to move. Tiny home floor plans show proven layouts that balance function and comfort.
Vertical storage is your friend. Floor-to-ceiling shelving, wall-mounted pegboards, and narrow cabinets use height instead of floor footprint. Sliding barn doors and pocket doors occupy far less swing space than traditional hinged doors. A pocket door kit (rails and hardware) costs $150–$300 and saves 20+ sq. ft. of clearance.
Color and lighting make spaces feel larger. Light, neutral walls and a few strategic accent colors avoid visual clutter. Good artificial lighting, dimmable LEDs, task lighting over work areas, extends usability into evening without feeling cramped. Large windows (if code allows) also create a sense of openness, though you’ll trade some wall space for installed framing.
When furnishing, apartment décor strategies offer small-space inspiration, from multipurpose furniture to clever storage. Avoid dark wood and heavy textures that visually shrink the room. Mirrors and reflective surfaces bounce light around.
Finish materials matter too. Vinyl plank flooring (easier than tile, warmer than concrete) runs $2–$5/sq. ft. Painted drywall (rather than wood paneling) keeps the interior feeling fresh. A polished concrete floor in the living area and vinyl in wet zones offers durability and cost savings.
Conclusion
Shed tiny homes represent a practical, affordable entry into owner-built housing. Success hinges on three pillars: getting zoning and permits right upfront, executing insulation and electrical to code, and designing layouts that maximize comfort in limited space. This isn’t a rushed project, budget 3–12 months depending on skill level, complexity, and inspector availability. The payoff is real: a functional, cost-effective dwelling you built yourself. For ongoing inspiration and technical deep-dives, resources like This Old House renovation guides and The Handyman’s Daughter tutorials bridge the gap between DIY ambition and professional-grade results.